to fabric that is. The sad thing is- I don't sew. Thank goodness my mom does, otherwise I'd have all of this cute fabric and nothing to do with it! I ordered these the other day from Hawthorne Threads. If you haven't heard of them and you love fabric, you must check them out. They have the cutest designer fabrics at great prices.
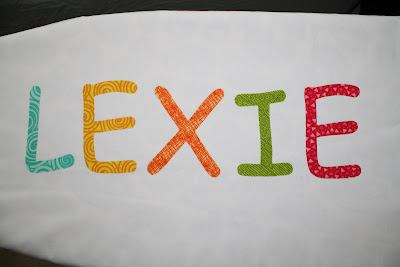
 Does the fabric on the right look familiar? That's right, it's the same design as my new header! All of these are going to be burp clothes for some of my friends' babies. Won't they be adorable?

 These will be especially cute for little boys. I can't wait to see the finished products. Once they are done, I'll show you!
 The sad thing is- I don't sew. Thank goodness my mom does, otherwise I'd have all of this cute fabric and nothing to do with it! I ordered these the other day from Hawthorne Threads. If you haven't heard of them and you love fabric, you must check them out. They have the cutest designer fabrics at great prices.
 Does the fabric on the right look familiar? That's right, it's the same design as my new header! All of these are going to be burp clothes for some of my friends' babies. Won't they be adorable?
 These will be especially cute for little boys. I can't wait to see the finished products. Once they are done, I'll show you!


 It's $2.99 for 3 sheets which can go a pretty long way.
 Then, separate each letters by cutting the sheet (I cut the paper and then drew the letters, which is more difficult). Peel back the side of the sheet that you didn't draw on. Put the side that has the letter net-side down onto the back of your fabric. Then smooth the sheet onto the fabric so that they stick together. I used my license to smooth them together.